Bulk labels
Create multiple Shopify fulfilments
Step 1
Open the Orders view in Shopify.
Step 2
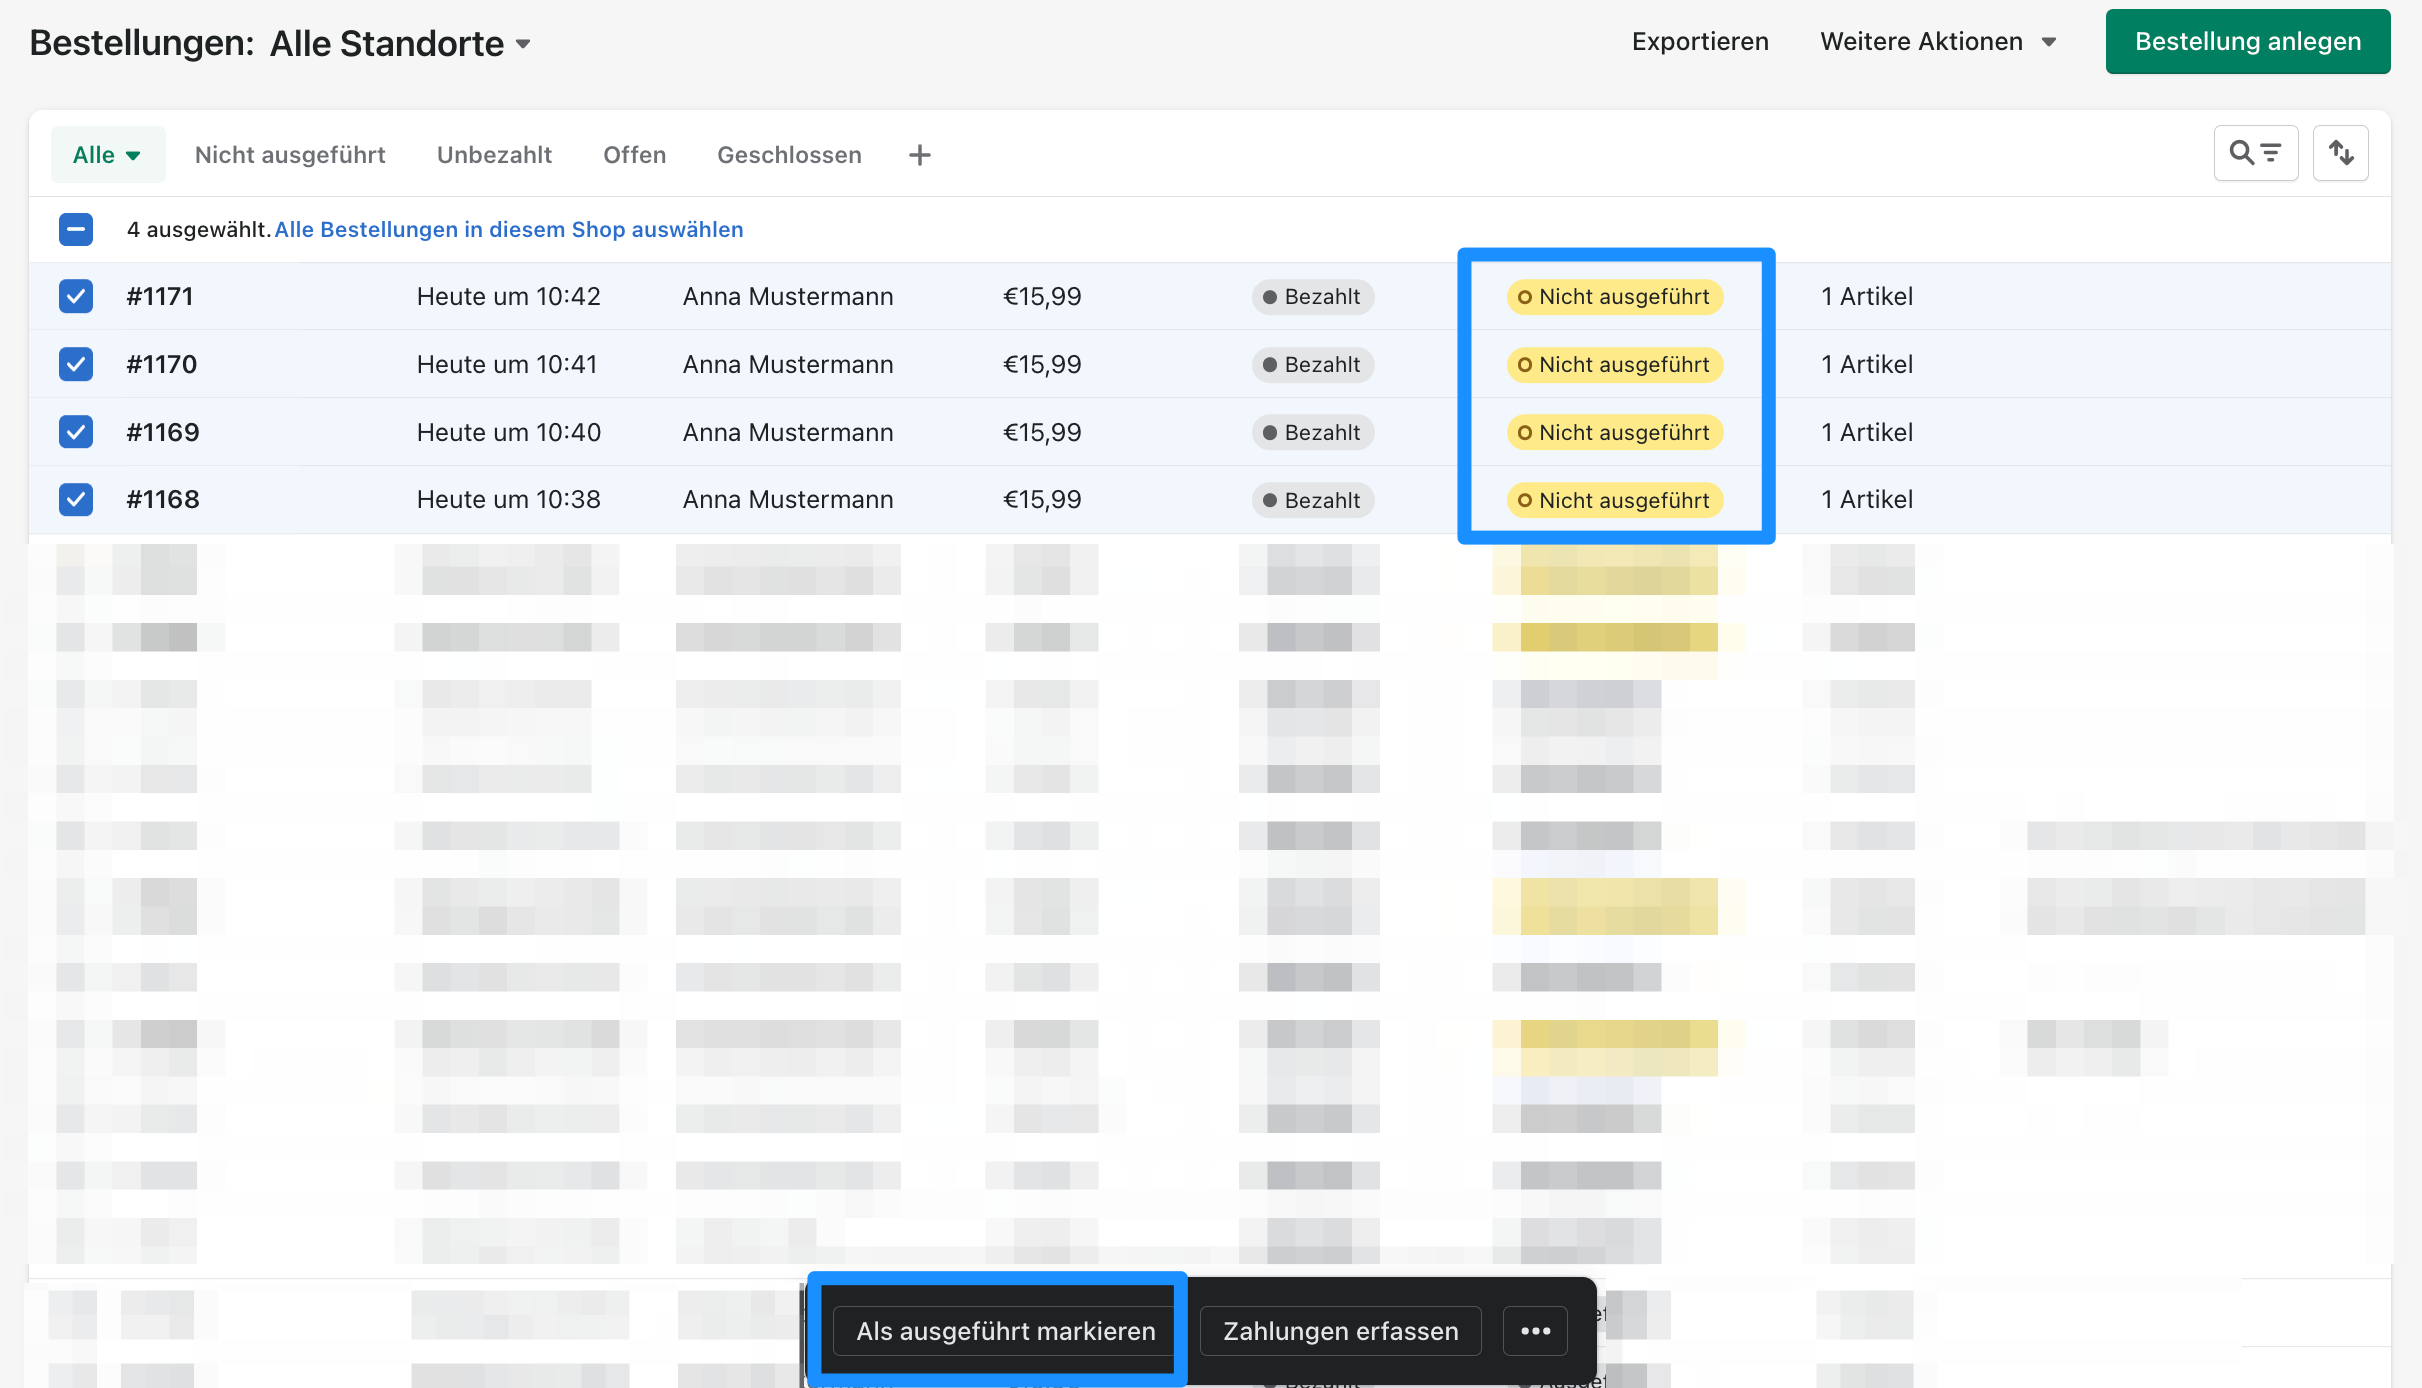
Select the checkbox for every order for which you want to create a shipping label. In this example, the selected orders are #1168, #1169, #1170, and #1171. Then select Mark as fulfilled.
Step 3
A window shows how many orders will receive a fulfilment—four in this example. Disable Send notification to the customer so the customer is only notified after the shipping label has been created successfully. Select Mark as fulfilled to complete the process.
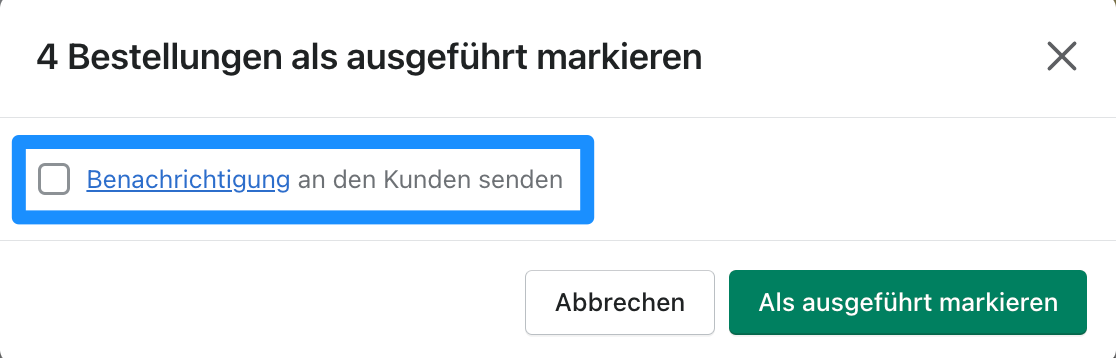
We recommend disabling Send notification to the customer. A separate tracking email is sent after the shipping label has been created successfully, provided that the product includes tracking.
Step 4
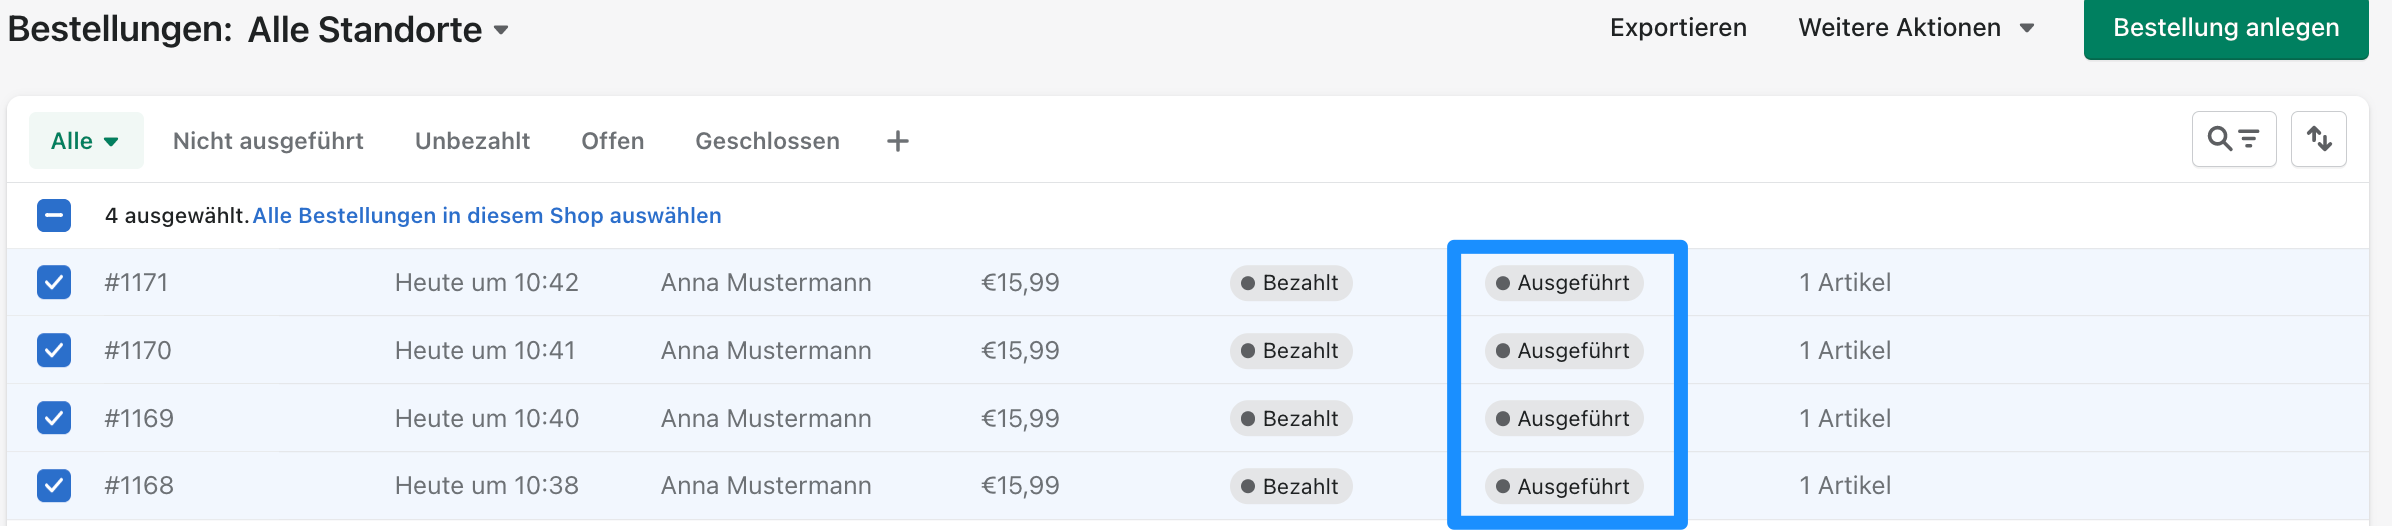
In the Orders view, the selected orders should now have the status Fulfilled.
Create multiple shipping labels
Add the required participations first. You cannot create a label without them.
Step 1
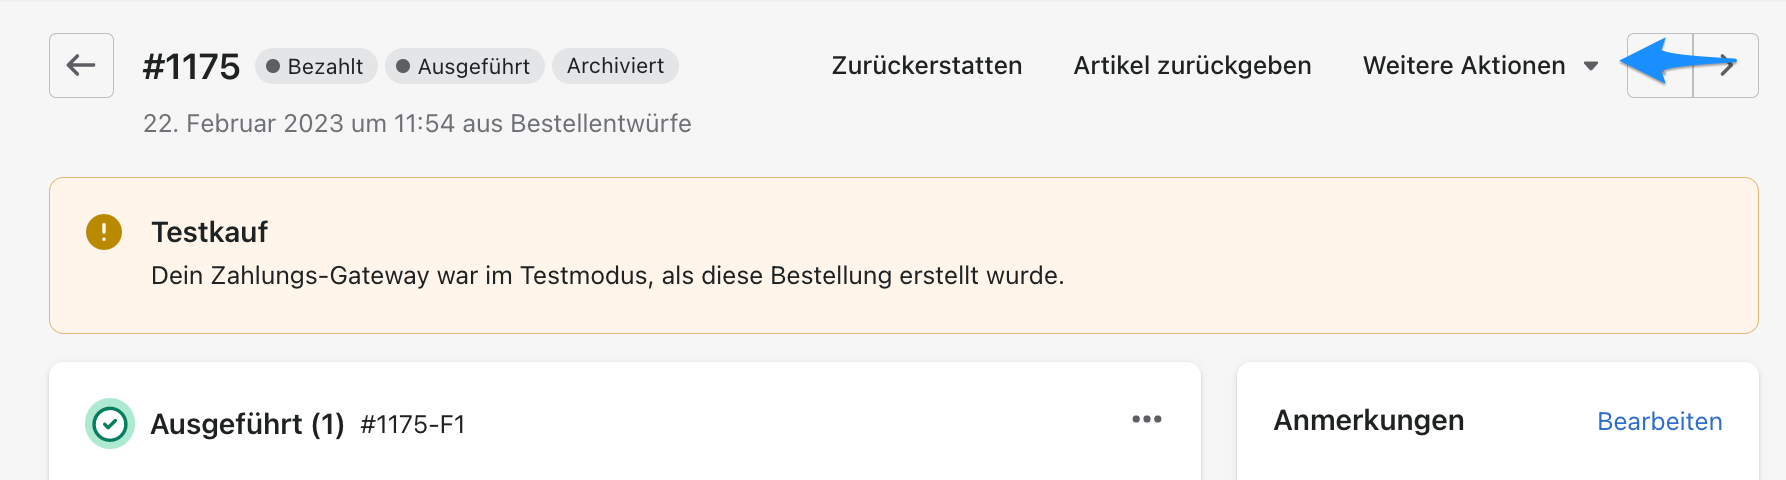
Back on the order page, select More actions → Create Label.
Step 2
On the shipping label creation page, first select the fulfilment for which you want to create a label. In this example, only #1175-F1 is available.
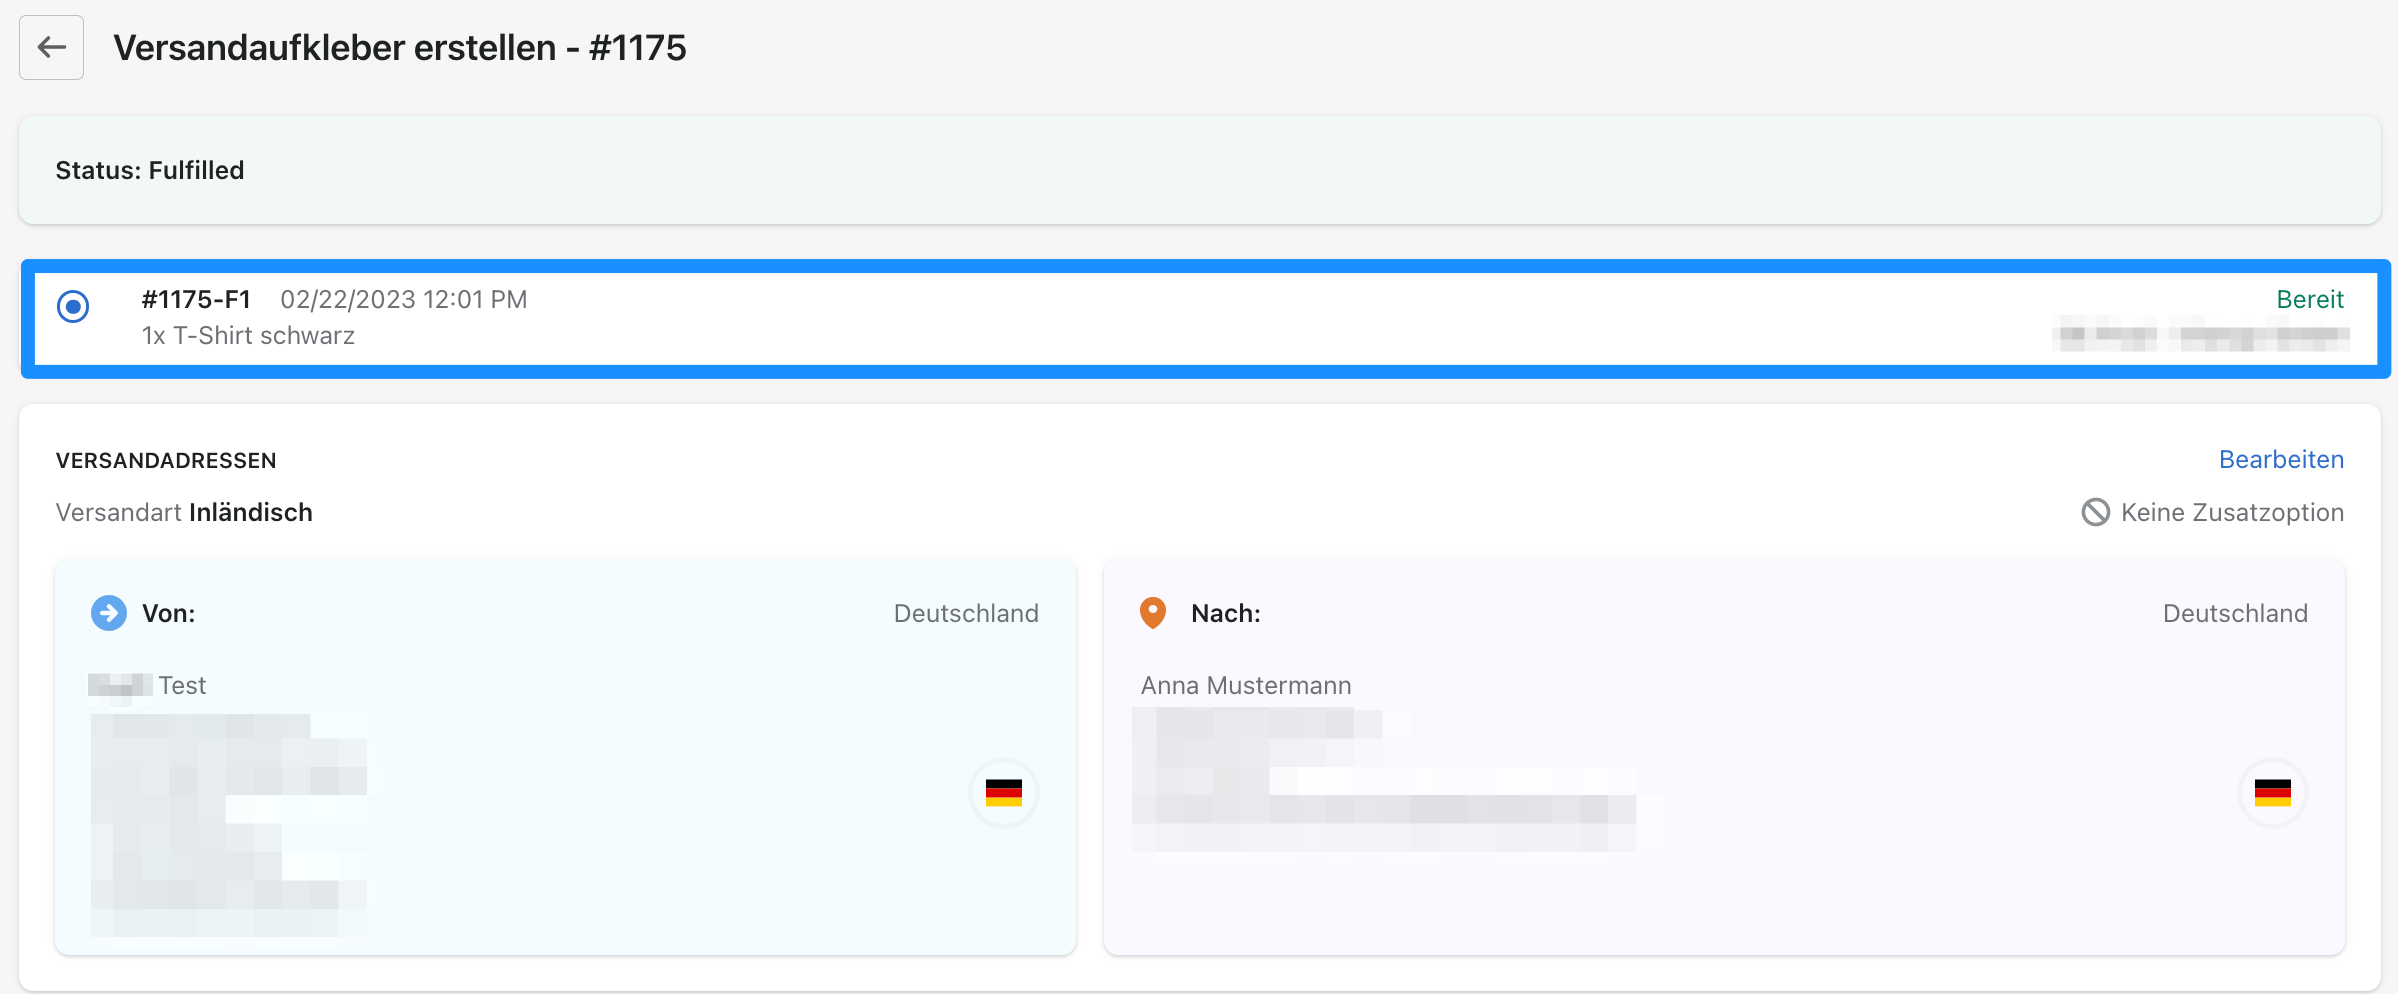
- The first section shows the order's fulfilments and which ones are selected.
- The From section at the bottom-left contains sender details taken directly from the Shopify fulfilment, based on the warehouse or location address.
- The To section at the bottom-right contains the recipient details for the order.
Step 3
Scroll down to the service settings/options. After selecting and adjusting all options, select Create shipping label.
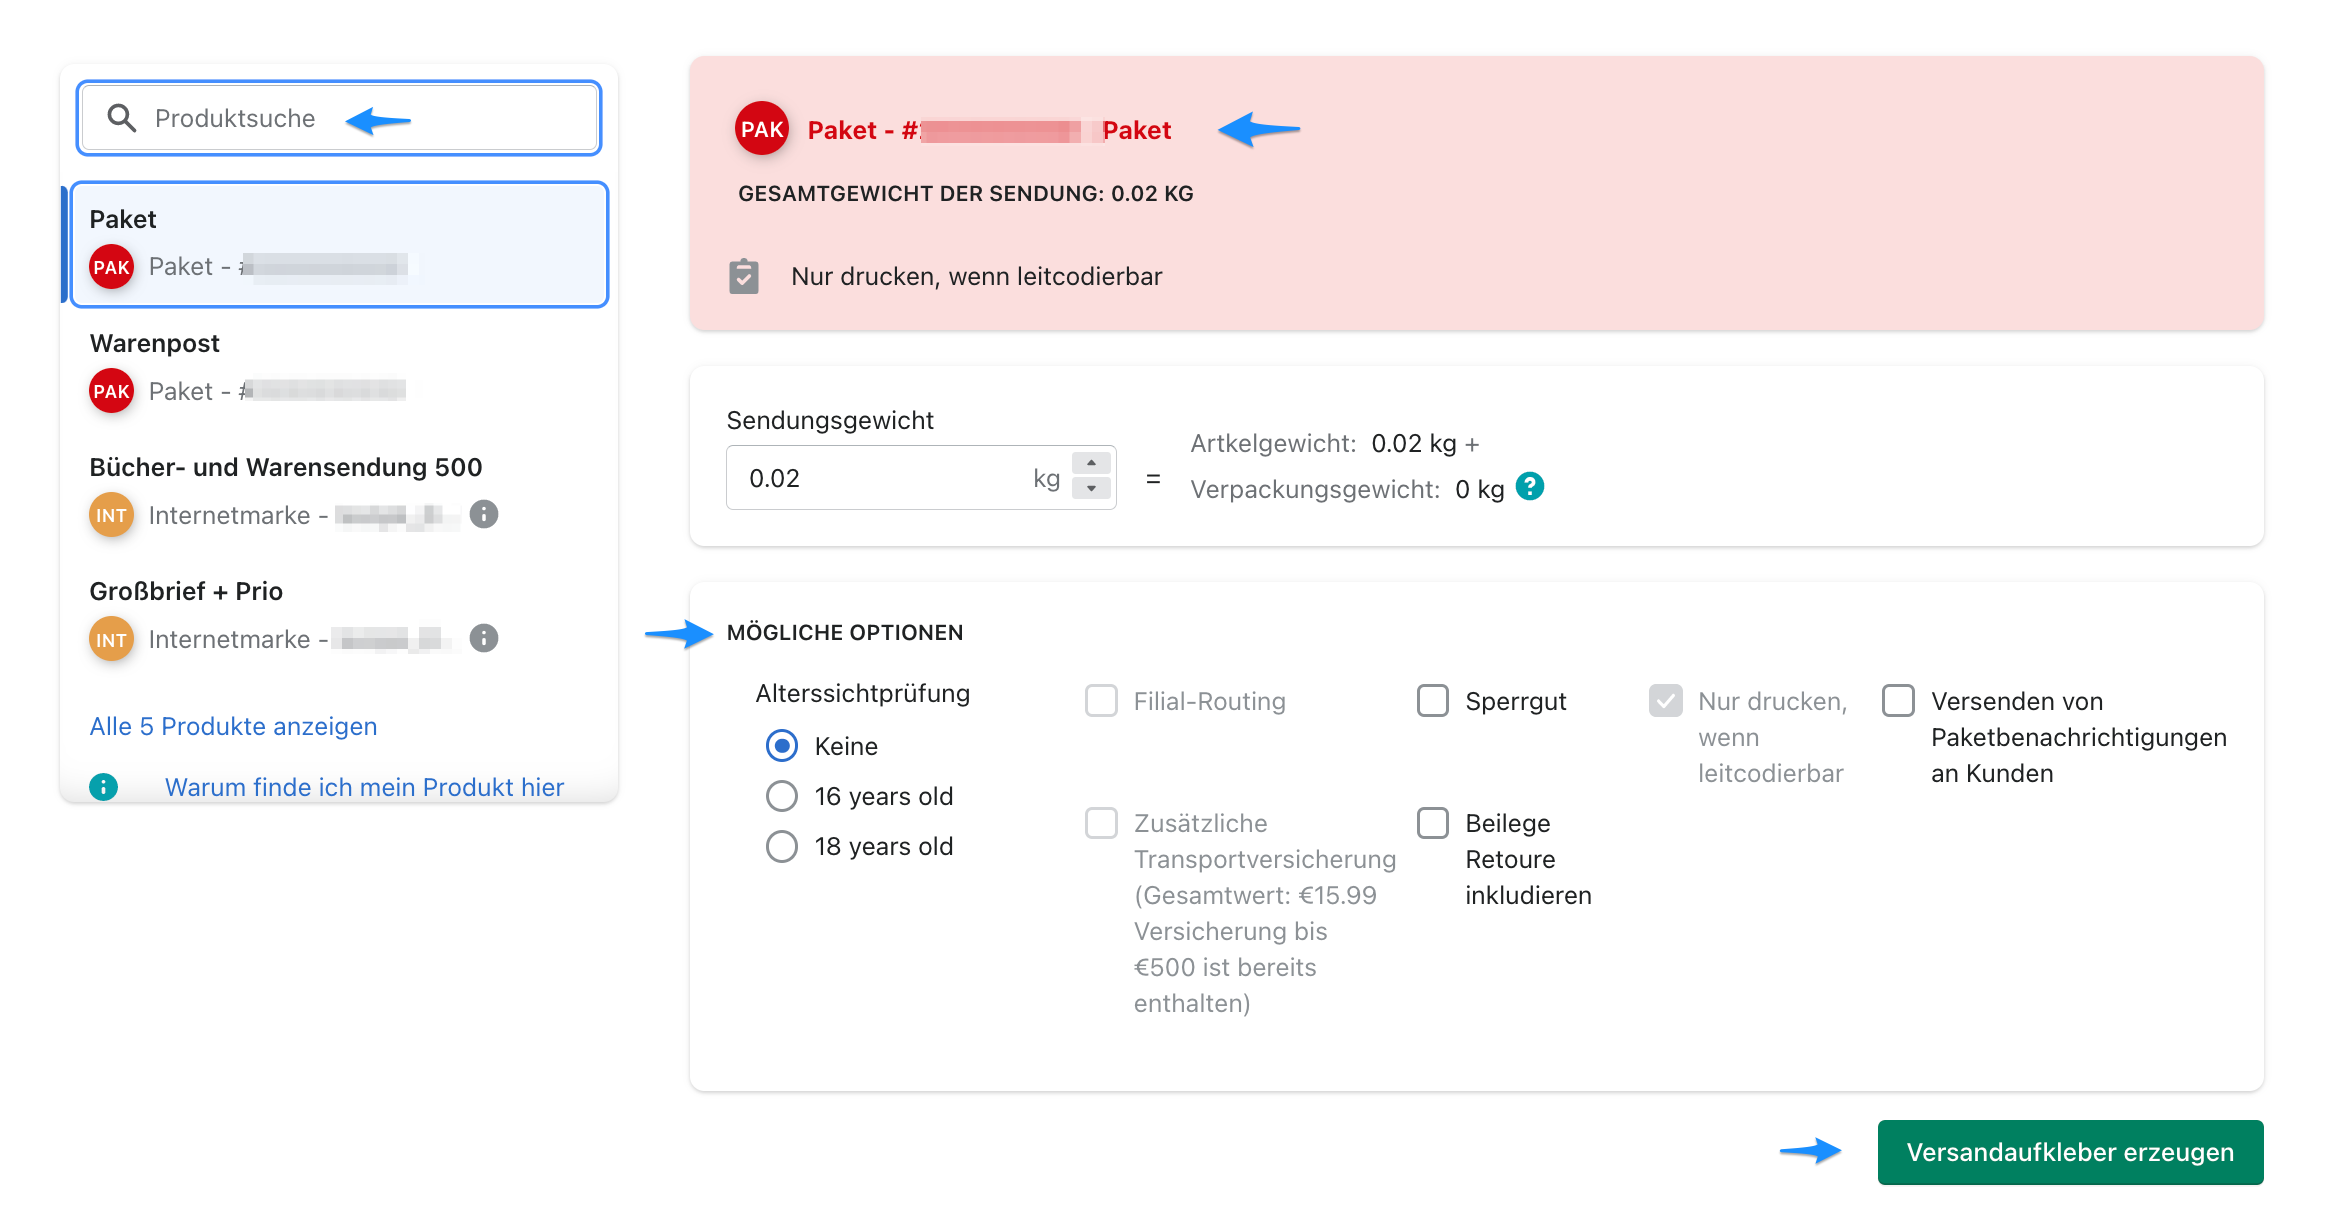
- Select the DHL product to use for the label.
- The weight is calculated from the sum of the product weights stored in Shopify. You can adjust it manually if necessary.
- Depending on your settings and selected product, additional services can be enabled or disabled here.
Step 4
The shipping labels are created. This may take a few seconds. When the process is complete, the most important fulfilment details and a label preview are displayed. Select Download all labels or Print to download or print the labels.

Step 5
To delete a shipping label, select Delete shipping label at the bottom of the page.
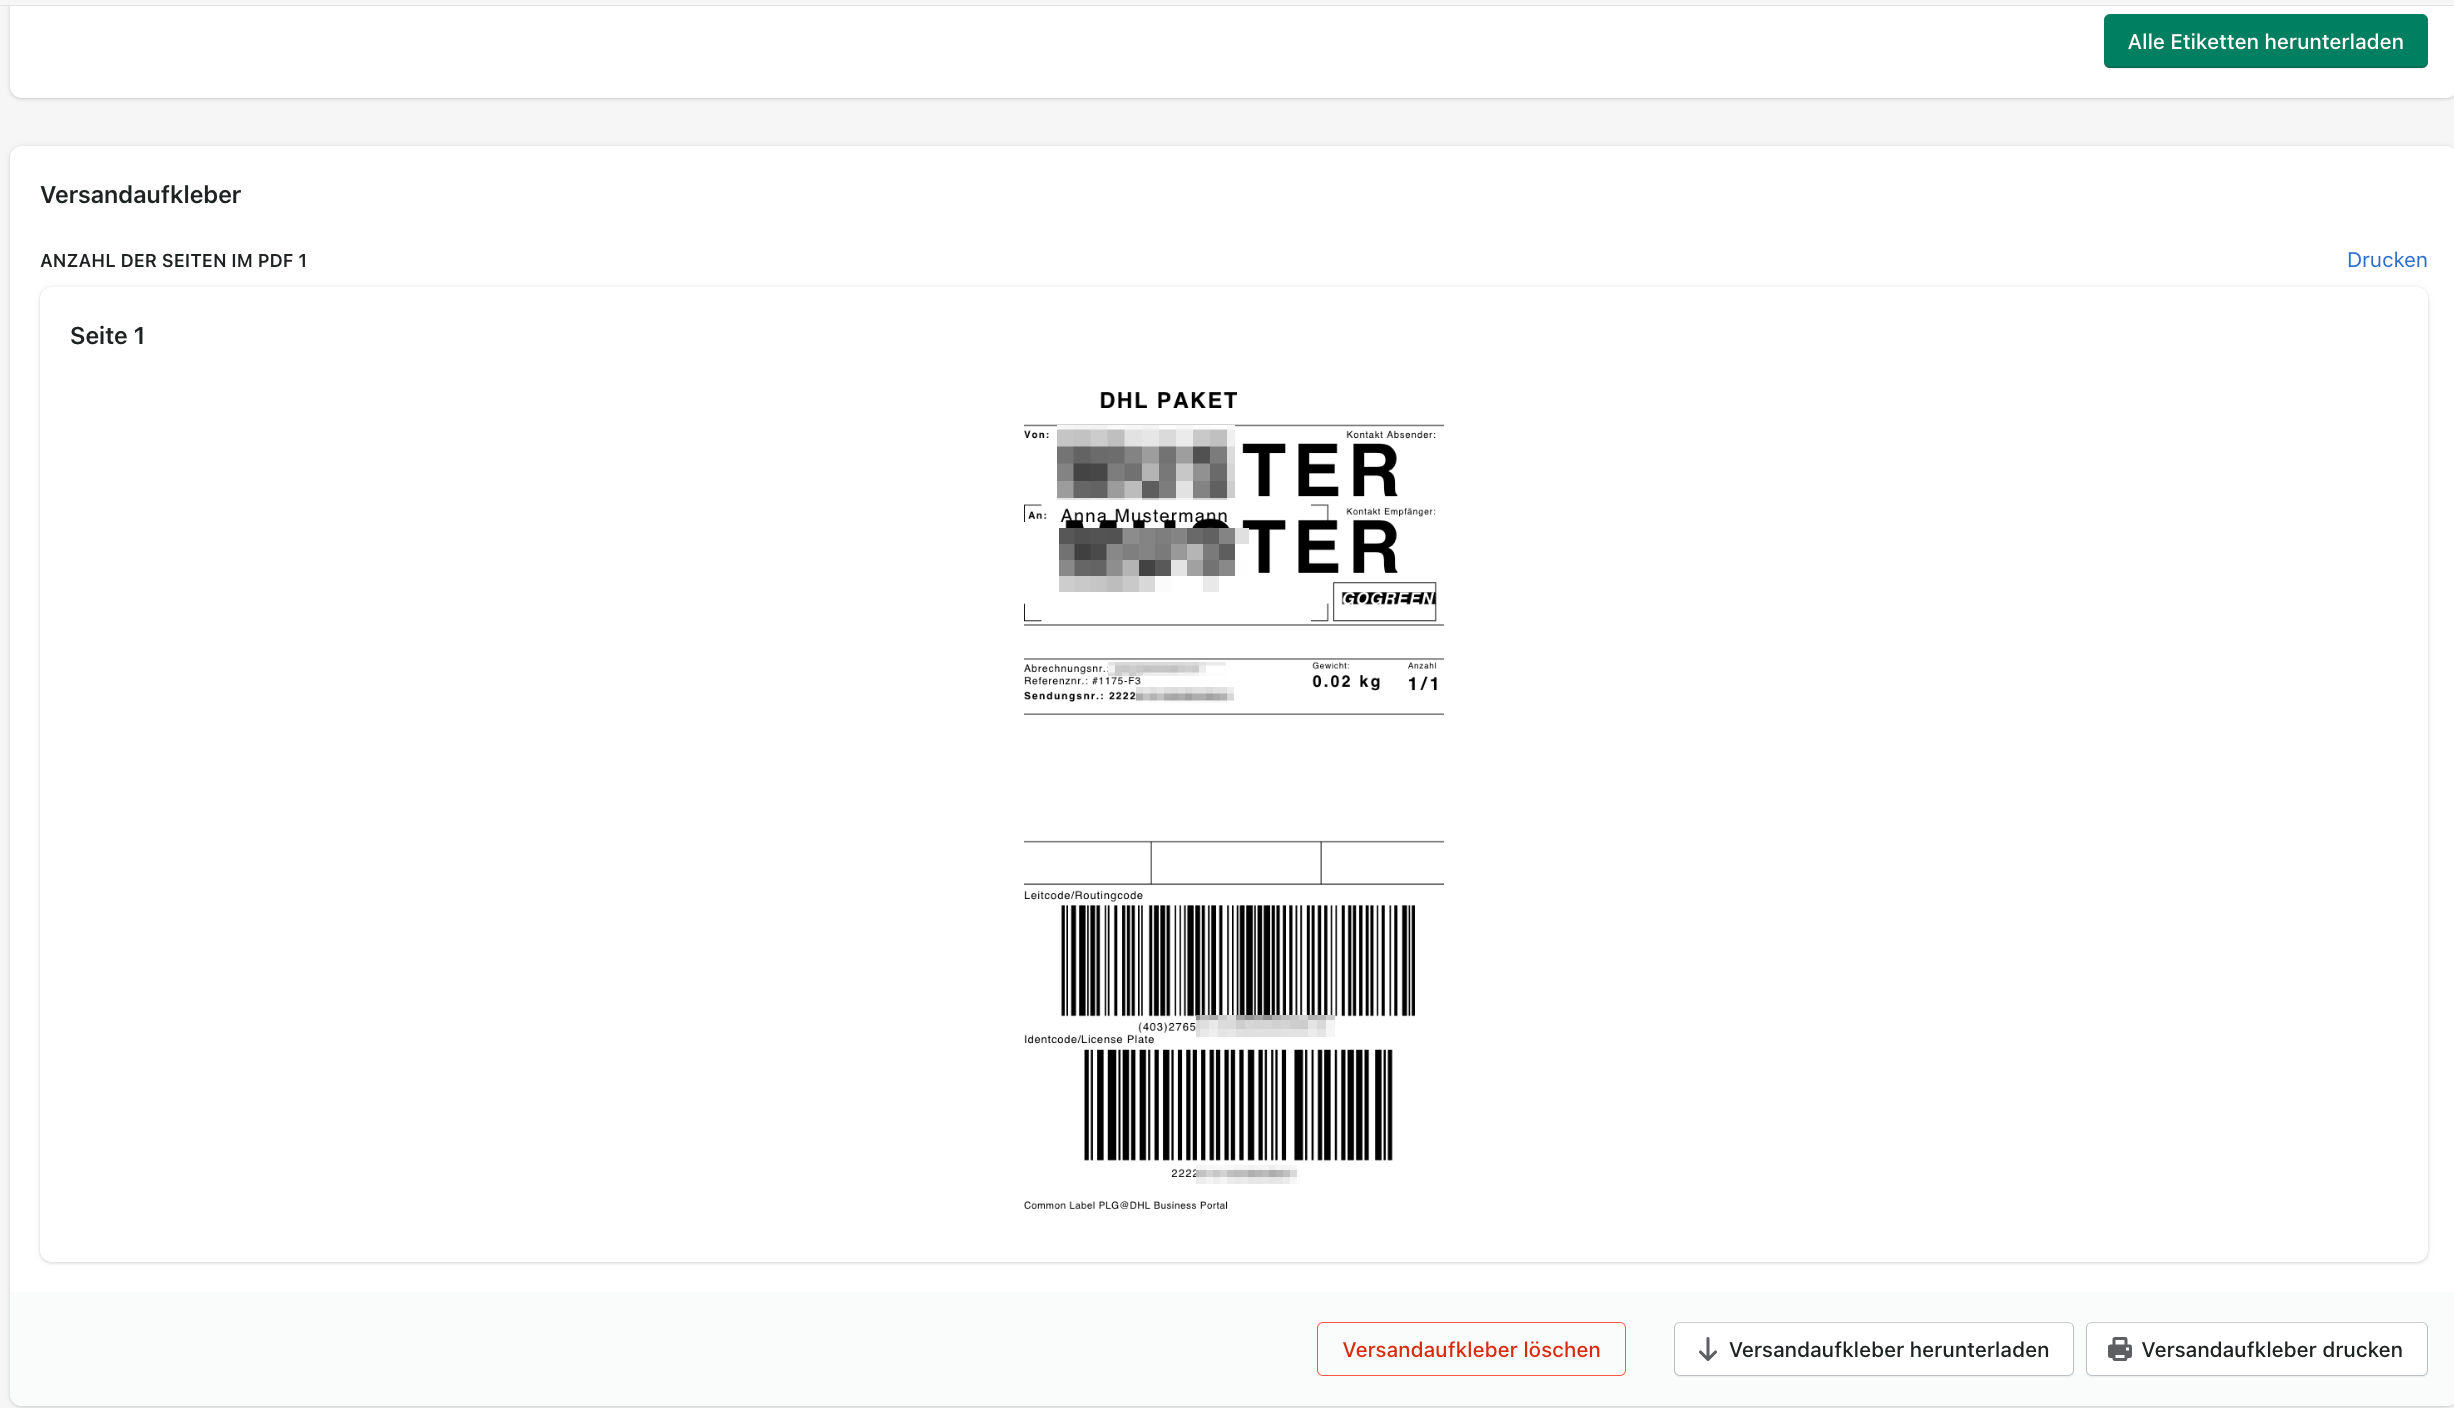
You can only delete a shipping label before it has been forwarded within the system.
After a label has been created, its tracking number is automatically added to the Shopify fulfilment and sent to the customer, provided that the product includes tracking.
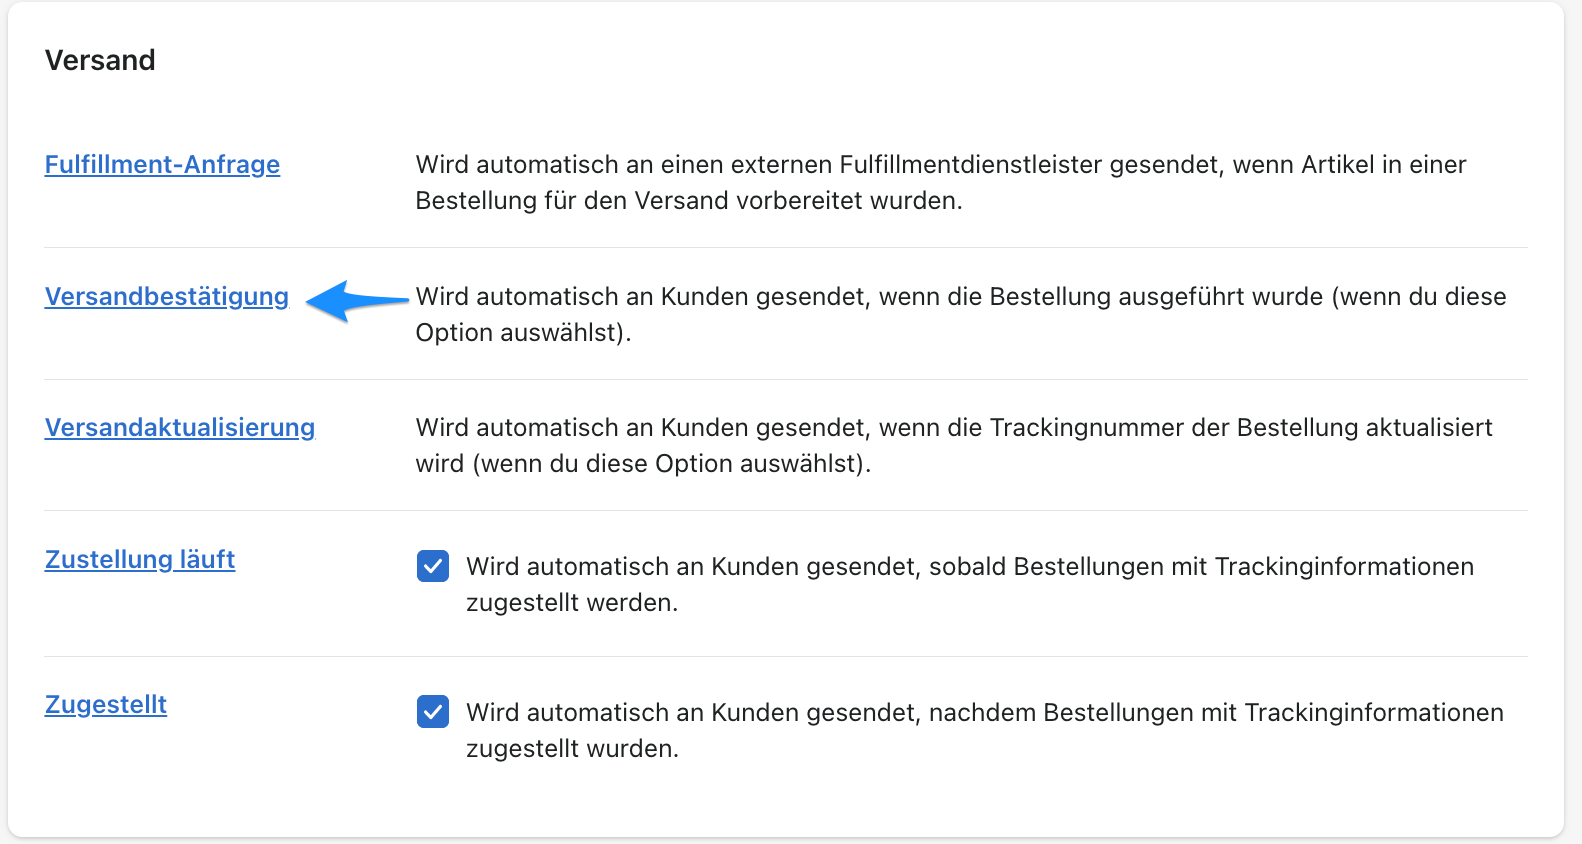
You can review the message under Shopify → Settings → Notifications → Shipping confirmation.
Select Settings, then select Notifications.
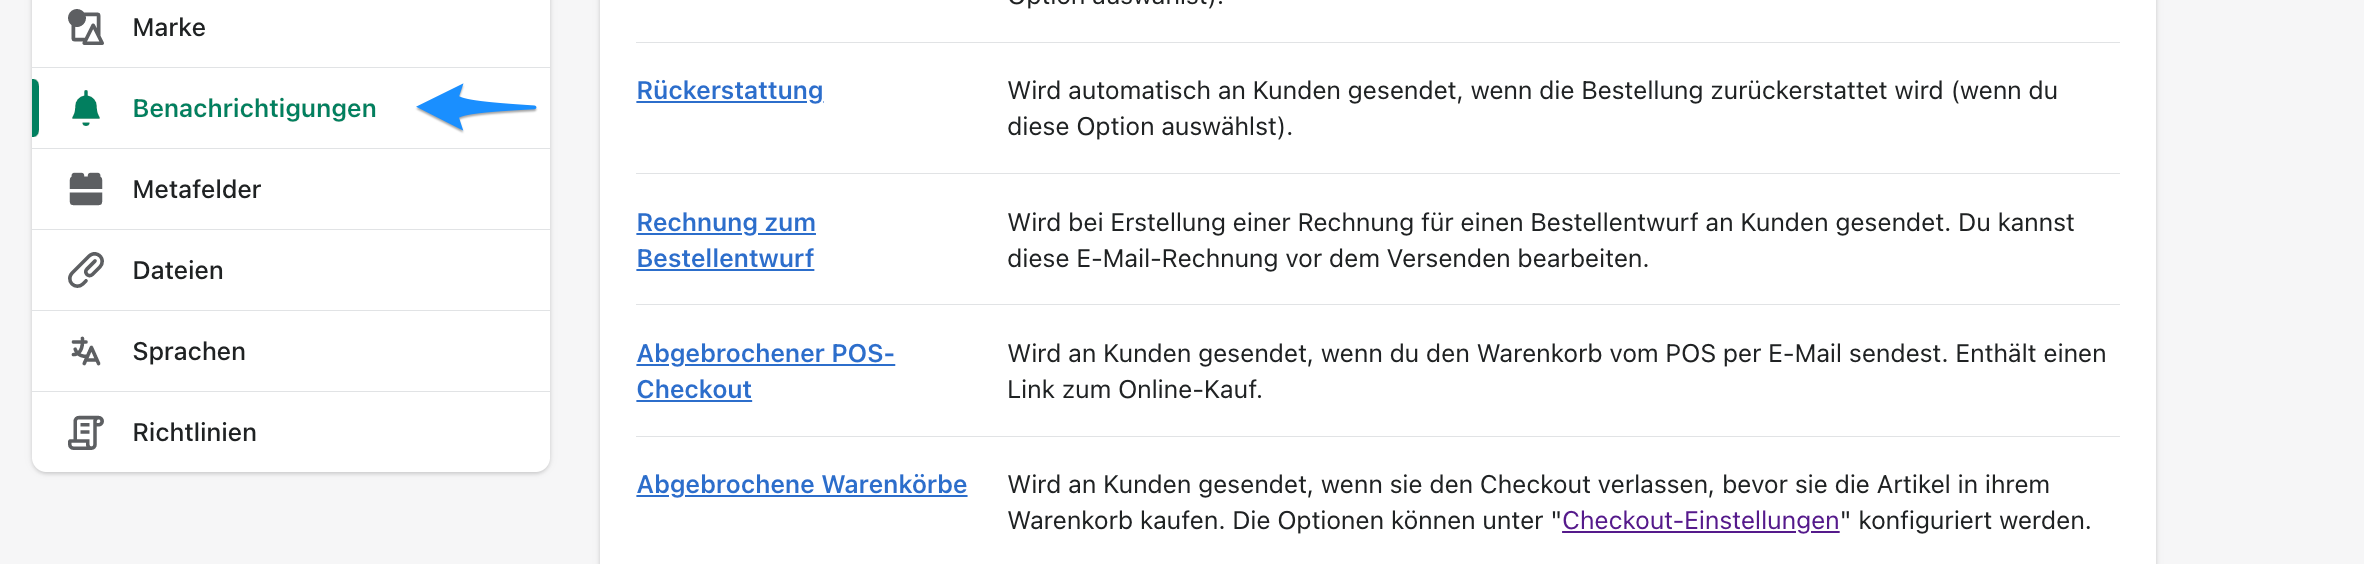
Shipping confirmation and Shipping update show the emails sent to the customer.